Written by Kayley Cox
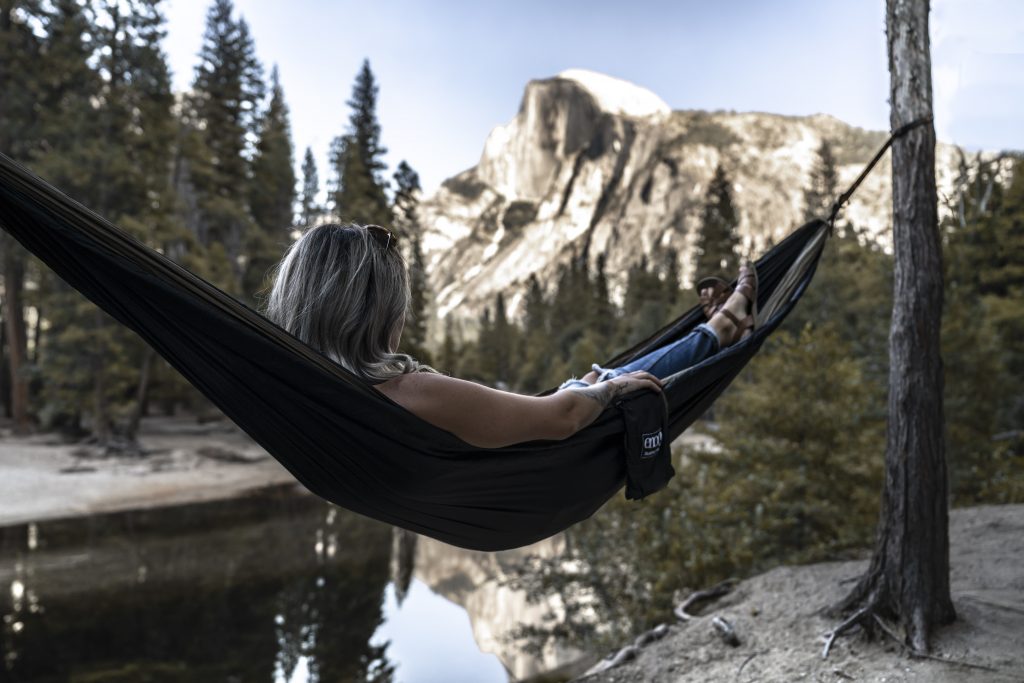
Hiking Half Dome with Your ENO Hammock
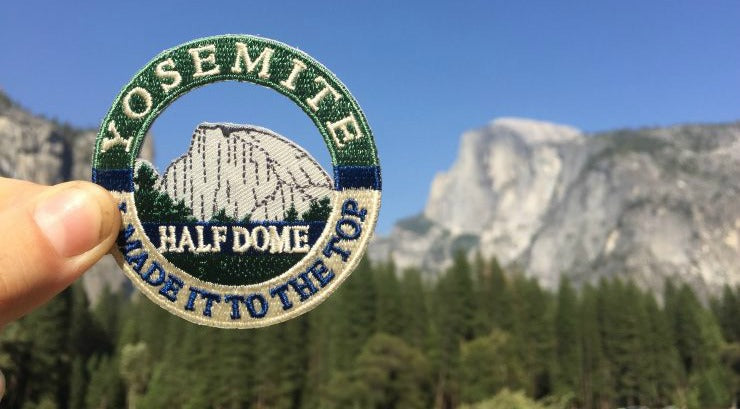
Hiking Half Dome had been a dream of mine for as long as I can remember. I grew up visiting Yosemite National Park, staring at half dome, and wondering what the view would be like staring back from the top. I am beyond thankful that I got to finally conquer Half Dome and see this view with my brother Trevor and now sister-in-law Cheyenne by my side. The summer of 2015, Trevor, Cheyenne, and I applied for a permit. We did the three-day lottery and got it! That’s when the nerves and adrenaline set in. We were really going to hike the famous Half Dome!
We had planned on camping there for three days already so the first day we arrived at our campground in North Pines we set up camp, rock climbed a bit, and went to bed early. The next morning we woke up at 5am to get ready and eat some breakfast. Then started the hike around 6 am.
I broke up the hike into quite a few segments below to help explain it all. If you’re looking to hike Half Dome hopefully this will help you mentally prepare for it.

Parking lot to the top of Vernal Falls by Mist Trail
In my opinion, the very first part of the hike is the hardest part. First of all, you’ve just woken up and therefore aren’t warmed up yet, but you’re faced with a steep incline right away. Not the best. The trail starts off on a paved path and then turns into rock stairs as you reach the top of Vernal Falls.
Vernal falls to the top of Nevada Falls
The next part is more of a moderate incline, with rock stairs again leading to the top of Nevada Falls. The area at the top of Nevada Falls is beautiful and I would definitely recommend stopping here on your way back down from Half Dome. Trev, Chey, and I soaked our feet in the water for a good while here on our return trip.
Nevada Falls through Little Yosemite Valley
Once you reach the top of Nevada Falls, the trail continues on through Little Yosemite Valley. You will get a mini down hill here! The sand trail levels out in this area, so use this short stretch to catch your breath and prepare for the next incline. Also this area is available for camping so you may see some campsites as you pass through.
Bottom of Yosemite Valley to the Sub Dome Switch Backs
This is the longest segment of the hike, but by this time I was very much in my hiking rhythm. I felt good, excited, and filled with the beauty around me. I actually kept pace with my brother (who is known for always going too fast) and it was so special to walk by his side along this epic trail.
So… the dreaded switchbacks. The switchbacks on Sub Dome (the small peak before reaching half dome) are infamous for being exhaustingly difficult. I took a good break before, during, and after hiking these. But the good news is, once you reach the top the only thing left between you and Half Dome are the cables. Plus everyone around here starts encouraging you to continue, so it’s really nice motivation. Seriously, hiking people are so nice.
The Cables
Once you say goodbye to those nasty switchbacks you will come to the top and take in for the first time the sight of the famous cables. This is where I questioned everything. Even though I was the one who had signed us all up for this trip, once I saw the cables with my own eyes and took in the massive rock that half dome is, I started doubting. So I’m going to say, it’s okay to be scared and it’s okay to question your sanity, BUT don’t let fear stop you! You’ve come so far, and honestly the cables aren’t as bad as they look. With some encouragement I was able to make sure my fear didn’t hold me back.
Some tips for the cables:
- Use gloves. If you didn’t bring any, there are a lot at the base of the cables. But you should really bring your own for safety reasons.
- Wait until the person in front of you moves off the wooden step before you leave your wooden step. You will want to stand on these wooden footholds going up, as the bare rock doesn't have the most grip.
- Be prepared for delays and take your time. At first I just wanted to get the whole thing over with and run ahead of every slow person holding up the line. But you will need rest; it's about a sixty degree incline. The cables took us about 30 minutes to climb.
- Stop and let the people coming down pass you. This is just a known rule of being on the cables. Make sure all your gear is secure before starting. I can't explain how terrifying it was to watch water bottles go crashing down to the valley floor. This happened multiple times.
At the Top
Once we reached the top (it took us five hours from start to finishing the cables), we stayed for about an hour. Took in the view, took pictures, and celebrated with a chocolate bar (YES, it was fantastic). The feeling of conquering half dome is indescribable. I still am so proud to say I’ve done this hike. You feel powerful, yet humbly small at the same time.
Going down
I know that thinking of going down the cables can seem worse than going up them, but I actually preferred going down. It’s a lot quicker and less tiring.
The rest of the hike, you can take your time and enjoy all the different sights you may have missed on your way up.
Once again, I will say I was blown away by how encouraging people were on this hike, especially during the stressful part of climbing the cables. I think that’s one of the things that made the hike so special for me: seeing how easily strangers came together to encourage one another along this crazy, awesome, beautiful journey.
It’s a hike of a lifetime, and I will always treasure these memories.
Author Bio
Kayley Cox is currently a full time student studying Molecular Biology and Creative Writing at the University of California San Diego. While studying takes up a lot of her time, her joy is found when adventuring outdoors so that’s what she tends to do!


Share:
10 Tips For Backpacking With Your Dog
Adventures at Pinnacles National Park